As an alternative for drawing in Illustrator, there is free, open source software available that allows you to do something similar: Inkscape.
After starting up Inkscape, don’t open but import (File > Import) the photo you’re going to use. In the horizontal toolbar, click View Layers (Shift + Ctrl + L). The layer menu appears on the right. Your photo is in Layer 1. Click on the plus sign to add a new layer on top of it. Lock Layer 1 by clicking on the padlock icon.
You can zoom in (select magnifying glass, click on your canvas) and out (hold down Shift while clicking). In the vertical tool bar, there is a tool that says ‘Draw Bezier curves and straight lines’ when you hover your mouse over it. It’s the icon below the pencil. This allows you to do somewhat similar vector lines as the Pen Tool in Illustrator. Click to place nodes (‘anchor points’ in Illustrator), click and drag to create nodes with handles attached to them.
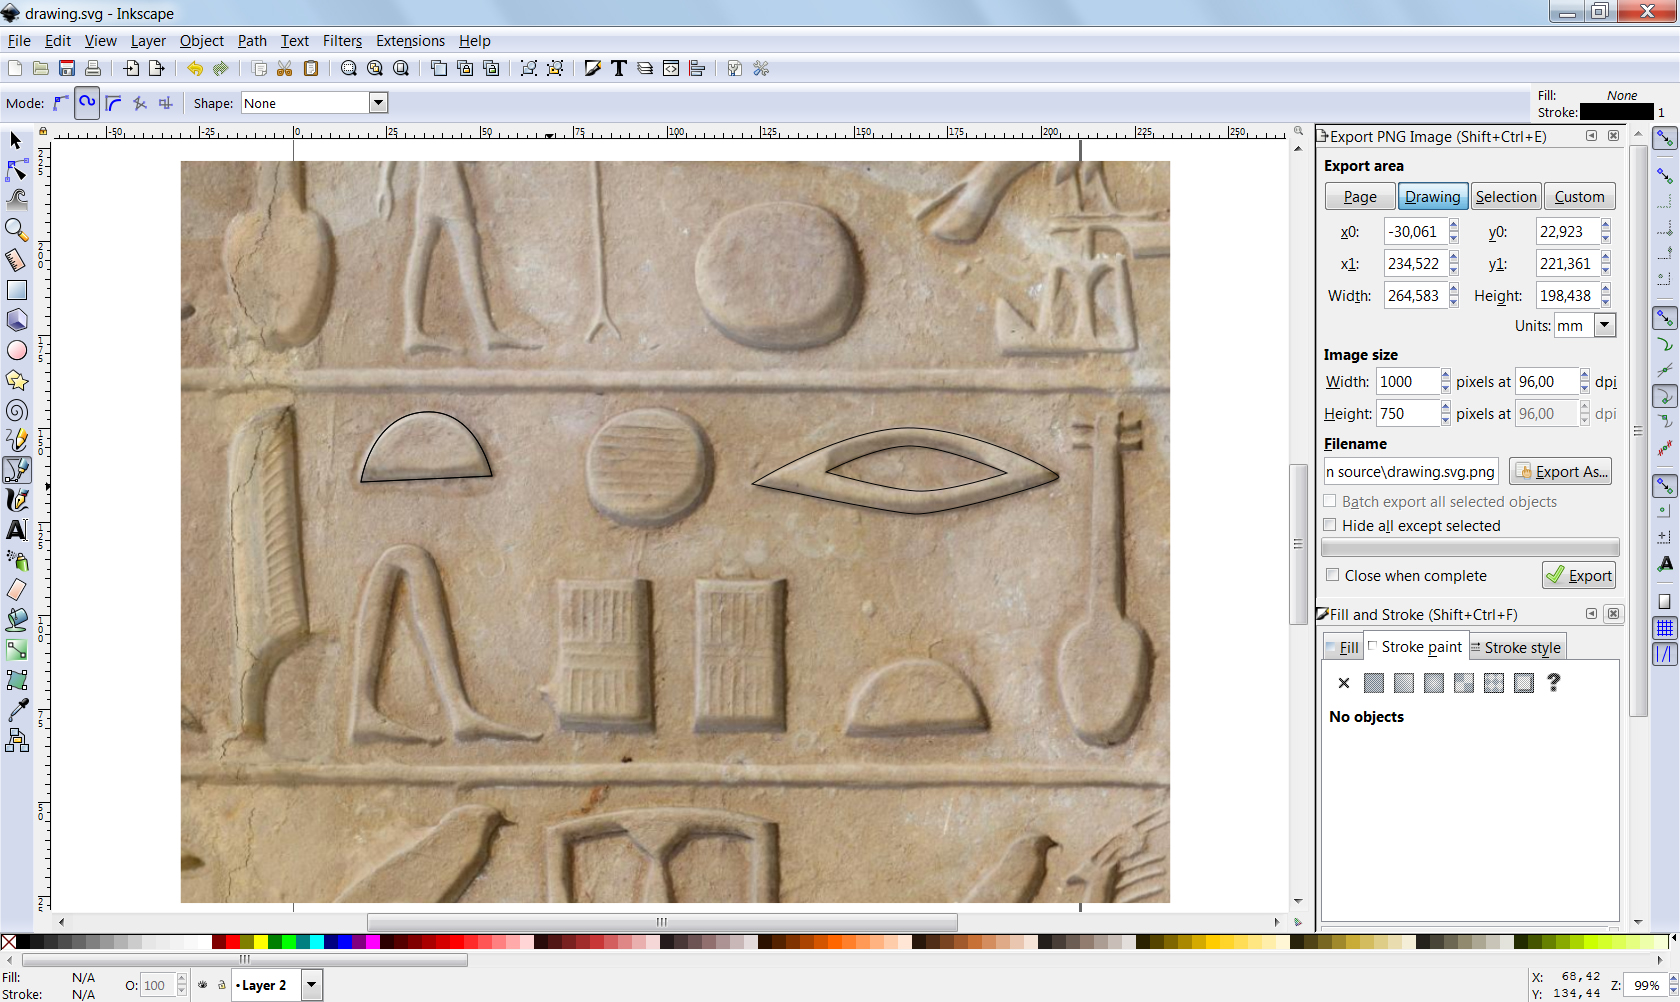
Drawing in Inkscape (click to enlarge)
After creating a closed path, at the bottom left of your screen, it says ‘Stroke’ and a certain line width. Right-click on this number to change it. Here you can also select whether to measure the width in mm, px, etc. To create an open path, place your nodes and press Enter. You can edit the line width afterwards by selecting your line with the black arrow (top icon in the vertical bar) and changing the settings accordingly. With the second black arrow (‘Edit paths by nodes’) you can edit your nodes. Also useful, the shortcut for Undo is Ctrl + Z.
To save your finished drawing, hide your photo layer (Layer 1) in the Layers panel and choose File > Export PNG Image. On the right of your screen, a menu appears that allows you to change some settings (or leave them as they are). When you’re happy with the settings, click ‘Export’. The exported image will appear in the specified folder.
Happy drawing!
1 thought on “Drawing in Inkscape”